
The Ampang reservoir is the second major milestone along the Bukit Kembara trail and follows a somewhat tough expedition down the hill. See my previous post on the Bukit Kembara Summit Hike for a guide on the first part of this journey. If you make your way up to the summit then continue to the reservoir, the whole trek should take you around two and a half hours, round trip.

After the summit point, it’s pretty flat and easy for a time but what goes up must come down.

You’ll encounter this divergent path. Both lead steeply down, so it’s a personal choice of how you’d like to mangle a limb if you accidentally lose your footing.


The left and right paths look like this, respectively. Though the left looks flat and more gentle, the point where it curves out of sight sees a sharper and narrower drop than its brother on the right, which is the path that we ended up taking.
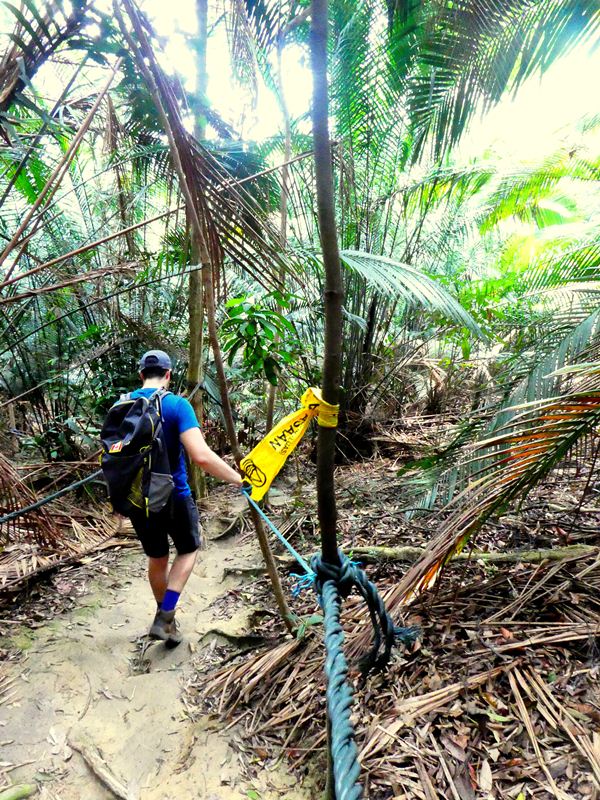
The rope markers are still present to help you stay on track. As you descend, holding on to them or a tree is pretty much essential. This is probably the part of the trail that made those muscles on the front of my thighs ache for three days afterwards. Watch your footing – this can be an intimidating and downright difficult bout. Apparently, much fewer people make the hike to the reservoir so fewer feet have trampled and kicked away all the fallen leaves and debris, making it easier to slip on the path. If it has rained recently, then you’ll be seriously up (or rather, down) shit creek.
At last, you should find this post with yellow tape on it marking the end of Bukit Kembara. Duck under the metal pole at the bottom of the stairs and you will be at the reservoir. I’m not sure why this entrance/exit seems to make every effort to tell you that it is not an entrance/exit.

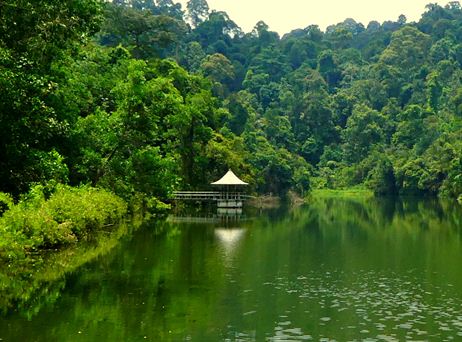
The Ampang reservoir is a nice lake with a flat path around it for strolling. There’s a lot of vegetation at the water’s edge so you can only get occasional glimpses of the lake through the trees. You won’t be able to miss the floating gazebo in the middle of the reservoir.

There are a few occasions where your way will be blocked by yellow caution tape. Don’t let yourself be bossed around by tape by turning back! Since every instance of this tape was immediately proceeded by a water crossing, I believe these caution barriers are simply there to tell you to be careful up ahead. It means that there will be a small river and you will have to cross by stepping on rocks instead of a man-made bridge to pass.

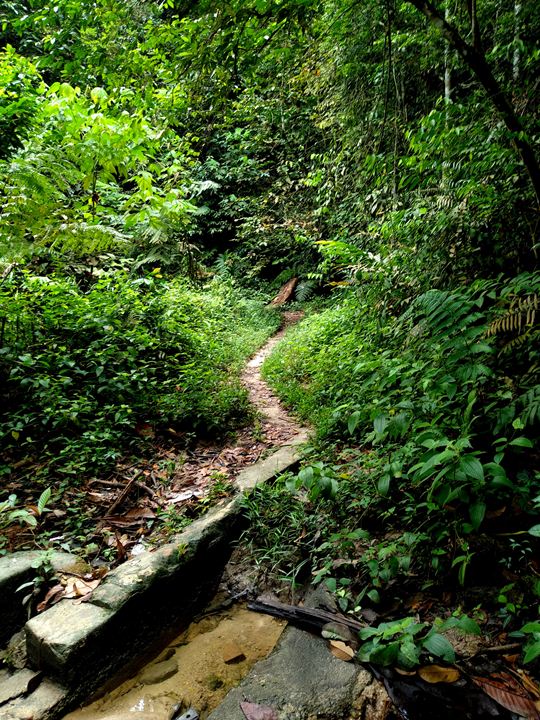
About halfway around the reservoir, you will see more caution tape and this pleasant waterfall. There’s not really any place to sit comfortably except for the rock or the fallen tree, but the water is cool and clean enough to dip your feet or splash your face. When you’re ready to leave, you’ll have to walk along a short rock wall to get back on to the path.

The treeline opens up and you will have reached the gazebo that you’ve had in your sights for this entire trail. Unfortunately, it’s a bit like someone who looks amazing from afar, but up close you notice how many pimples they have. The gazebo is in a sad state of disrepair, with rust eating through the roof and support beams. There’s a precarious, unsightly hole in the middle of the floor. Presumably, it’s for maintenance purposes, but nobody bothers to cover it up when there’s no maintenance happening.
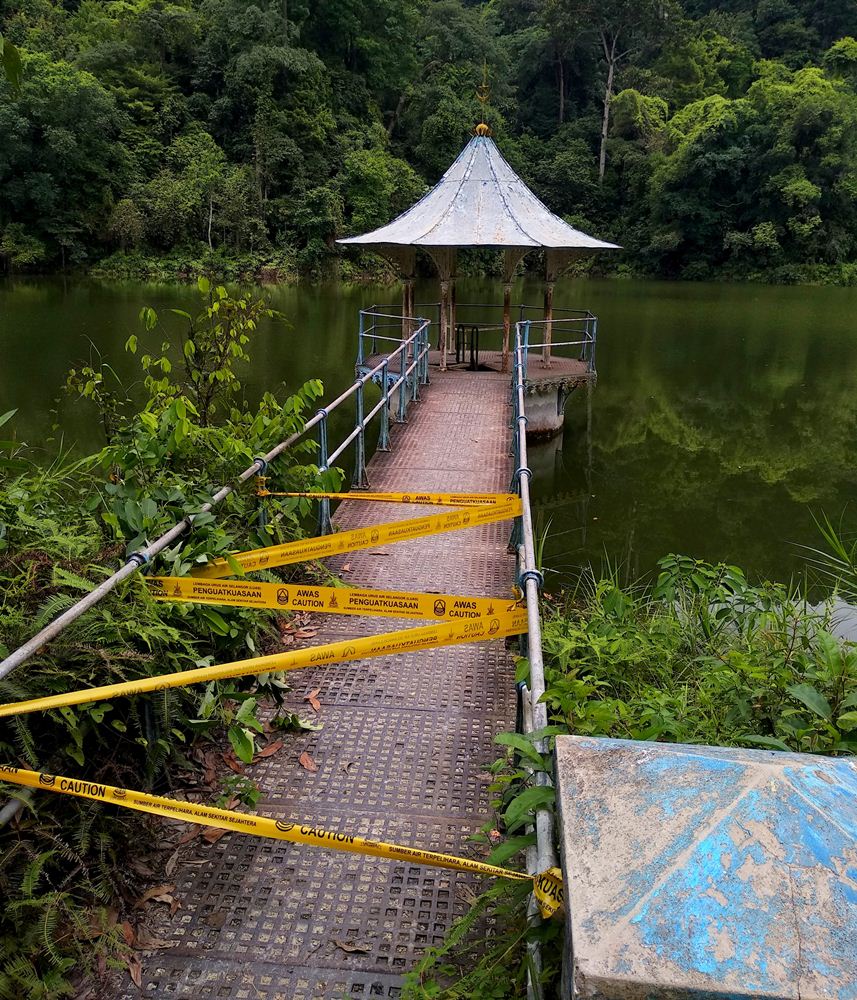
It’s so disappointing because this could have been a really picturesque spot with a layer of paint and minimal maintenance. I hope the caution tape means there’s a plan to renovate this eventually. At the moment, it was just uninviting. We were not going to run through an obstacle course of caution tape just to get a 360° view of the reservoir we just walked around. So we rested on the posts and had a quick snack before moving on.
Shortly before completing our circuit back to the Bukit Kembara entrance, there was this path. At the summit, there was a sign mentioning a trek to Taman Tar. We never found the “sign by reservoir” that it was referring to, but maybe this caution tape barrier is it.
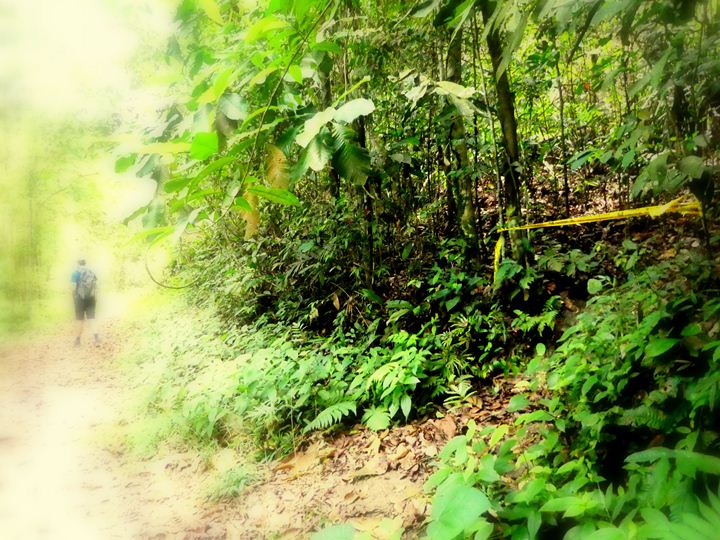
Some bricks will be laid into a workable sidewalk before you arrive back at the base of the hill where you exited the trail previously. Retrace your journey back up Bukit Kembara and out through the shrine to complete this hike.


Even people who hike still have to drive and must get back to the parking lot, so this is the route that intermediate hikers do. If you got to the Bukit Kembara trailhead without a car and have no need to return to the start point, look for my next guide on how to continue onward to Taman Tar. Almost nobody undertakes this last leg of the trail because of the driving complication, so it’s a really overgrown path through the unpredictable jungle! I would only recommend advanced hikers to try it, and even then, my guide is to show you where not to go and to help you find an easier way!
Trail Info
Address: Ulu Kelang, 68000 Ampang Jaya, Selangor
Open 24 hours
Duration: 2.5 hours+
Parking: Yes
Washroom On Site: No




Like!! Really appreciate you sharing this blog post.Really thank you! Keep writing.